This do-it-yourself project was the culmination of a total accident that led one crafter to repurpose some extra junk lying around his garage.
Imgur user Kai028 was in a terrible accident that left his old motorcycle completely totaled back in 2014. Left with nothing but damaged spare parts, he knew he wasn’t going to make any money selling the salvageable metal to his motorcyclist friends. Having been known to dabble in woodworking and metal work, the man set out to incorporate the scraps into an epic lamp/stand combo that would house his phone and smartwatch while they were charging.
Keep scrolling to see how this DIY dude was able to create something practical for his home.
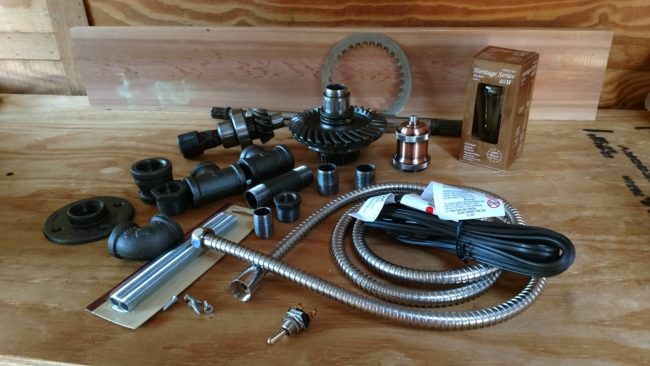
Sorting through his pile of spare parts, our designer had the idea to create a charging station for his phone and smartwatch, which would also function as a working lamp.

In addition to his motorcycle scraps, Kai028 stopped by his local home improvement store for some lighting and electric equipment as well as some plumbing supplies.
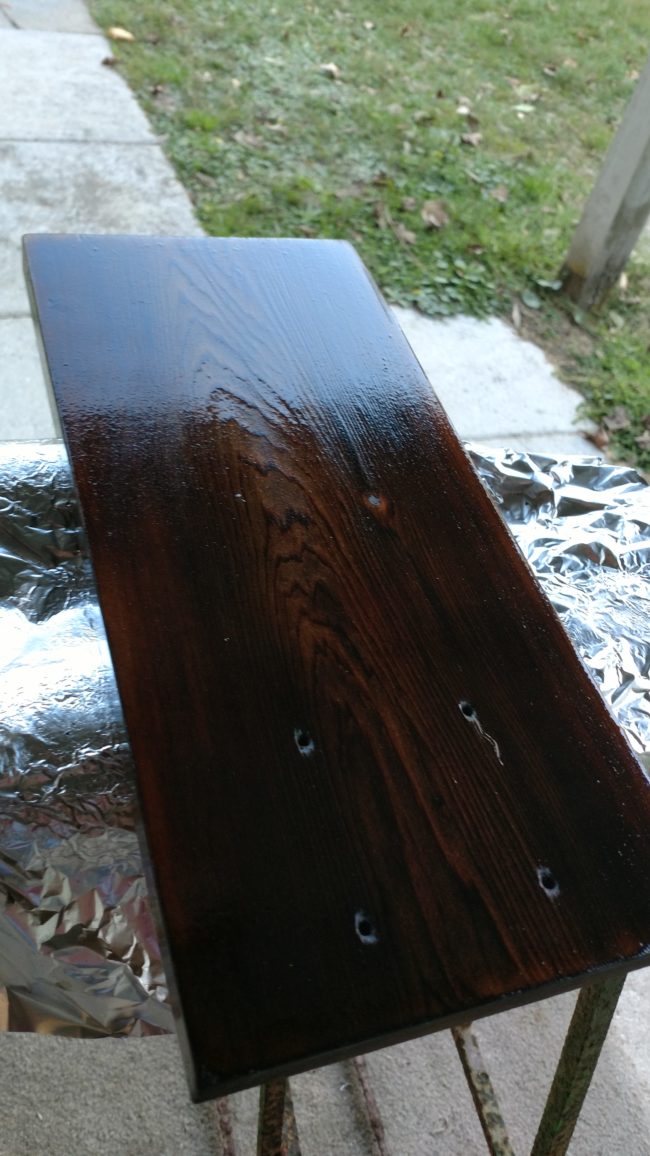
Knowing that he needed a strong base for his master creation, he started off by cutting some cedar wood down to size.

After taking a blow torch to the wood for some added flare, he finished off the wooden base with some boiled linseed oil and a wax coat.
Next he deconstructed and threaded a cheap electric cord through a water hose to give the cord an armored exterior.

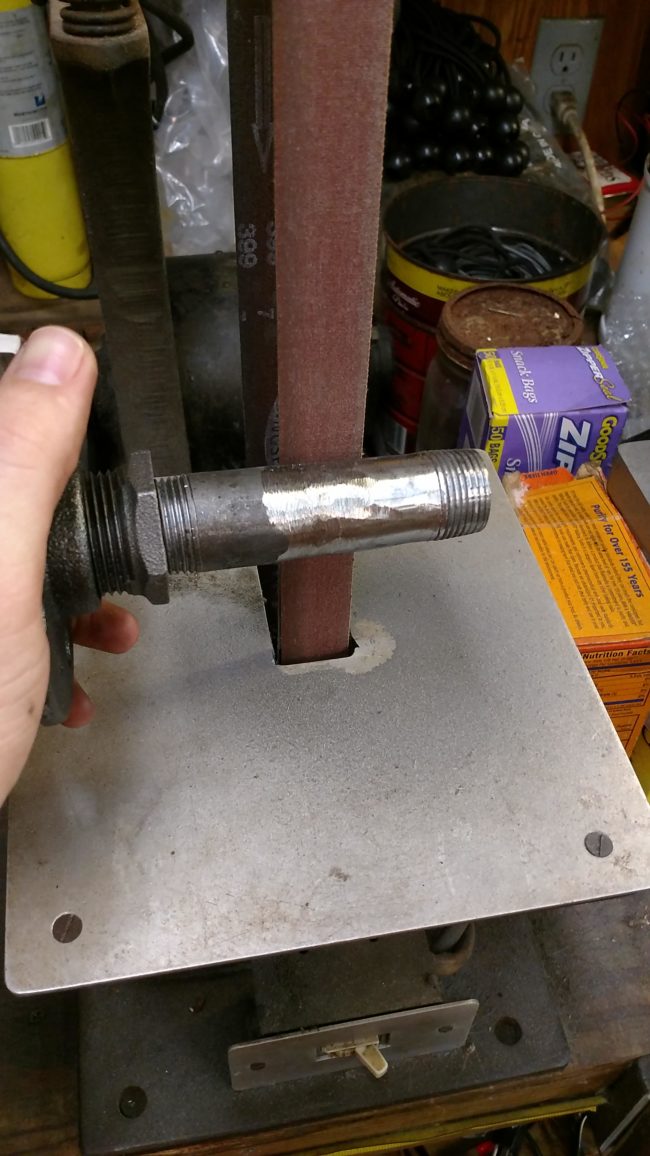
Then it was time to grind and sand the final drive and metal piping down to size so the pipe could fit easily inside the drive shaft.
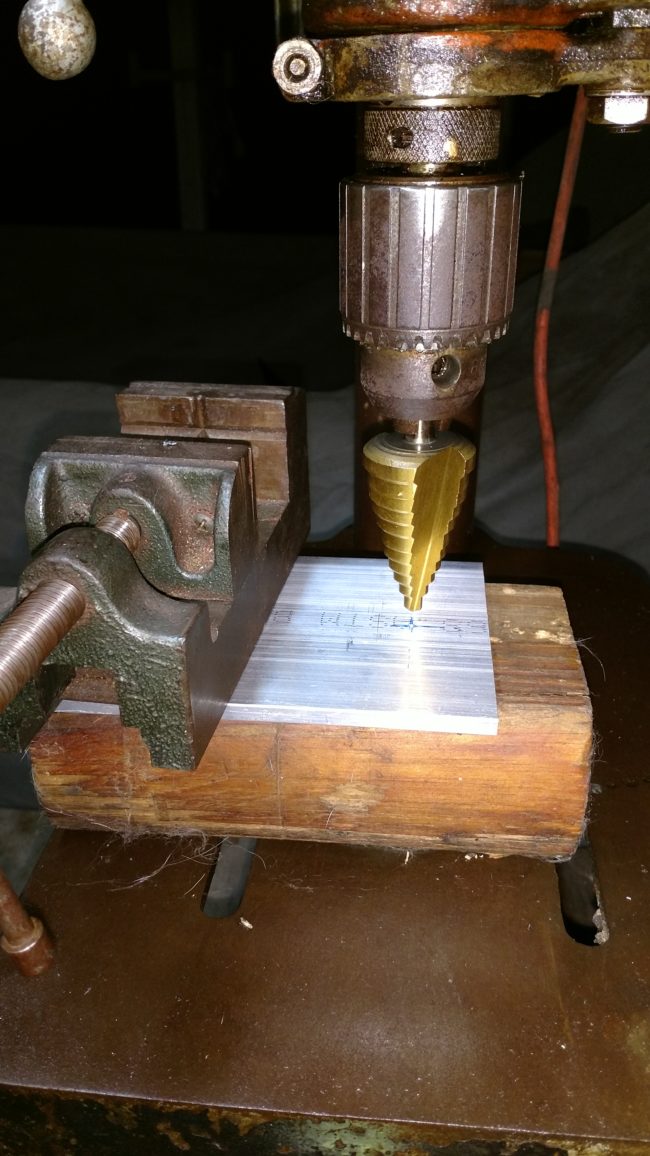
By drilling a hole into a T-fitting, our builder was able to create the perfect on/off switch for his lamp.

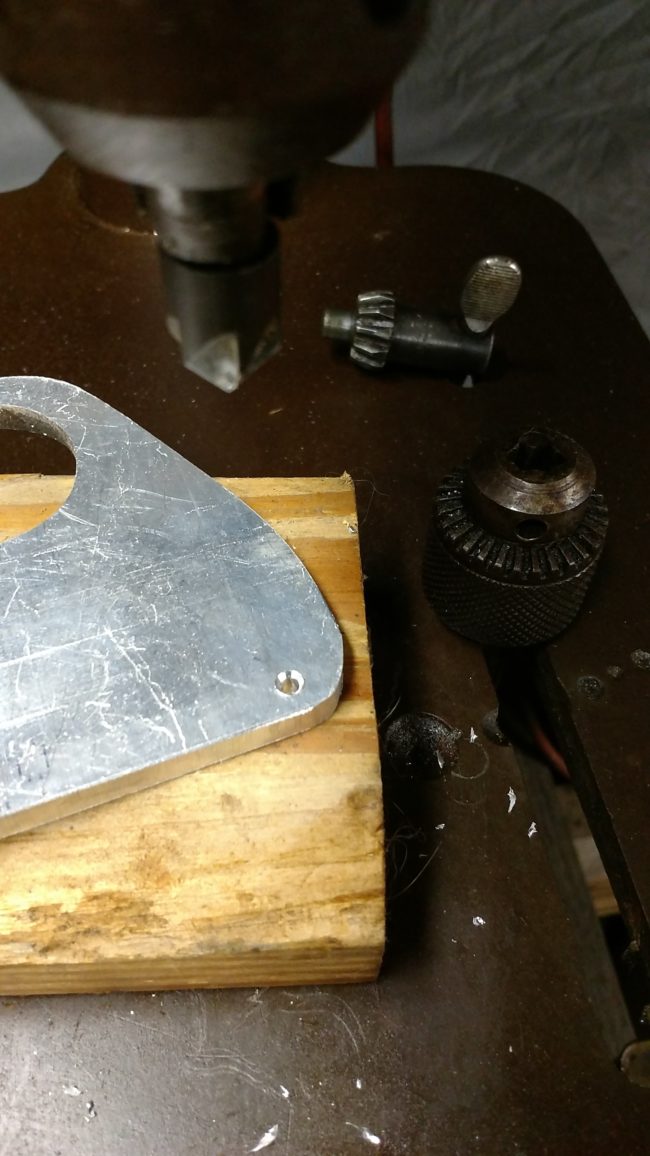
Then it was time to build a small bridge out of an aluminum plate for his phone to rest on.
With most of the metal work done, the time had come toperform a trial assembly to see if everything would come together like it should.

With everything the perfect fit, he went on to cut down the aluminum plate into its desired shape.
Using a wire cup brush, he gave his metal plate a textured appearance.

Next he attached a small strip of copper wire to the plate to prevent his phone from falling off the charging station.

As production wound down, it was time to epoxy all the pipes and pieces together.

Once the epoxy dried, it was time to assemble it. This is what the finished product looked like:

But before he could call his project complete, it required one final light test to make sure everything was working. Fortunately, it all worked out!

All that was left to do was to try out his phone and watch chargers and call it a day.
