Baking a cake can be a lot of work, and if you only want something small, it almost doesn’t seem worth it.
Whether you’re trying to come up with a creative idea for a child’s birthday or just have a sweet tooth yourself, it’s hard to know which recipes are the best.
Mom and Instructables user HollyMann was recently tasked with taking a few cakes to her son’s school, so she decided to try out a new technique using tin cans. It sounds strange, but the outcome is absolutely magical. All you need to get started is one can for each layer of cake you want to bake.
First, she says to clean the tin cans and remove all labels. Then use plastic wrap to smear Crisco on the insides. Make sure to be careful during this step! The cans have sharp edges.

Next, pour in a tablespoon of flour and turn the can until it is entirely coated. Remove any excess.

Make the cake batter, either with a mix or from scratch. Then, decide how many layers you’d like and split the batter up into that many bowls.

Use food coloring to make your layers fun and vibrant.

Once you have all your colors mixed, it’s time to get baking!

Fill the tin cans with one color per can, making sure to not fill them more than 2/3 of the way since cake rises. Bake them in the oven just like you would with a normal cake.

Read More: Someone Discovered How To Bake A Full-Sized Cake In The Microwave…And WOW
Once they’re done, they should slide right out of their cans. Then you can cut them into smaller layers and remove the top domes and dark edges.

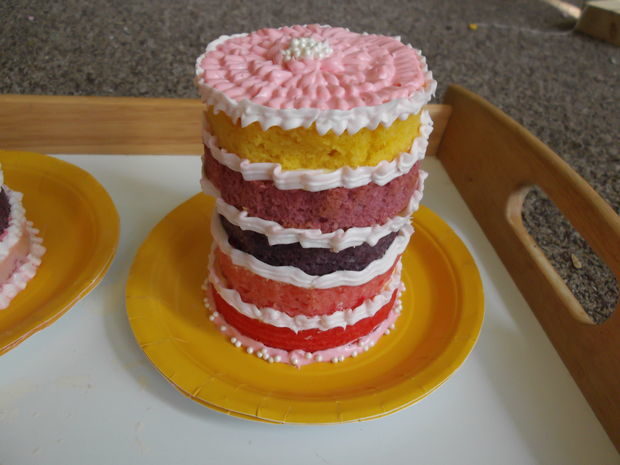
Now it’s time to stack! Mix and match colors for a creative, Dr. Seuss-like look.

Add frosting between the layers so they stay stacked.

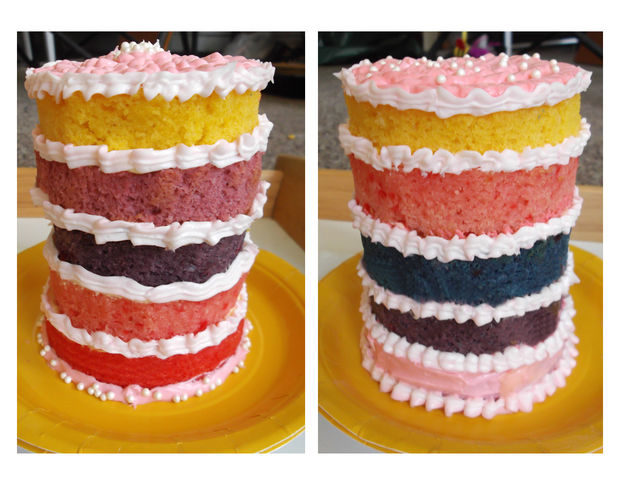
And finish however you’d like! I love that she left the sides exposed so people could see the hard work she put in.
No two cakes will be exactly the same, and that’s part of their charm.
Read More: If You Have A Mug And A Microwave, You Can Make 22 Simply Incredible Things
Check out HollyMann’s full tutorial here!
